Adding a button over an image is very easy. It’s not just a button, you can add anything if you learn the technique.
For this tutorial, I will build this section. Let’s start.

Table of Contents
Steps to Add a Button Over an Image
We will add the image as a container’s background image and then add a button inside the container.
Step 1: Add a Container
- Go to the page where you want the button over the image.
- Click on the Add New Section button in Elementor.
- Choose the Column layout you want. I will choose a Single Column layout.
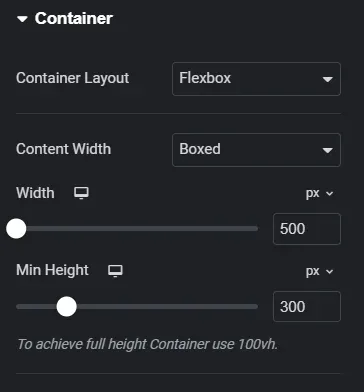
- Now set a width and height for the container.
Step 2: Set the Background Image
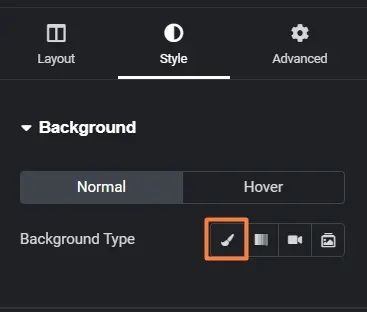
- Go to the Style tab.
- Under Background > Background Type, click on the brush icon.
- Upload your chosen image or select one from your media library.
- Set the Position to Center Center, Repeat to No-repeat and the Display Size to Cover.
Step 3: Add a Button Widget
- Inside the container, drag and drop the Button widget.
- Style it as you want.
- Not just a button you can add texts or other widgets.
Step 4: Positioning the Button
To move the button over the image,
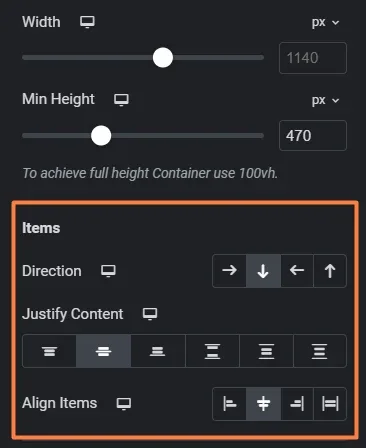
- Select the container again.
- Use the Justify Content and Align Items to control the position.
Styling Tips
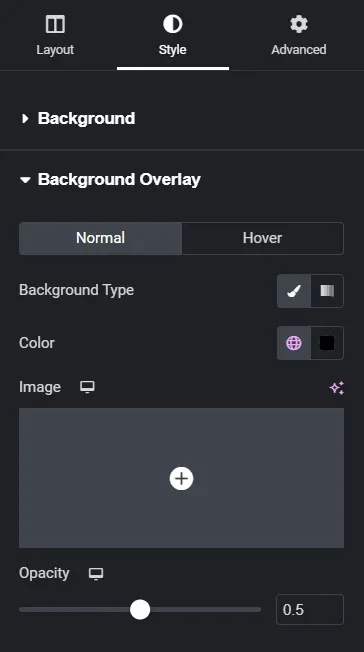
For improved button visibility, you can add a semi-transparent overlay on the background image.
Go to the container’s Style > Background Overlay, set a color and adjust the opacity.
If you have any questions, feel free to leave a comment below. I will try my best to answer.

