
Elementor doesn’t allow using their theme builder and post elements in the free version. Therefore, you can’t build custom archives or singular page templates.
This is a limitation users face when building a blog website using the Elementor free version.
I also faced it when building this website. But the good news is, you don’t have to spend hundreds of bucks to get the solution. It is free.
I will share exactly how I built my custom post archive page using the Elementor free version step by step.
Let’s start.
#1 Installing the Plugins
To achieve the goal, we need two extra plugins. One is Xpro Elementor Theme Builder and the other is Xpro Elementor Addons.
The Xpro Elementor Theme Builder will give us the option to create custom designs for archive, singular pages along with header and footer.
The Xpro Elementor Addons will provide us with the Post Grid element to show the blog posts on pages.
To install them, Hover on “Plugin” then click on “Add New Plugin“.
Now on the search box paste the text Xpro Elementor Addons. From the result Install and Activate the first two plugins.

#2 Set the blog page
After installing the plugins, the next step is to set a page as the blog page from the WordPress setting. So when you go to the default blog page, you can see the design.
If you don’t have a page created to use as the blog page, to do that go to ‘Add New Page‘
Give a name and click on “Publish“.

After that hover on “Settings” then click on “Reading“.

Now from the “Post page” dropdown select the page you have created and click on “Save Changes”

#3 Create the template
Now that we have everything set up, we can start creating the template.
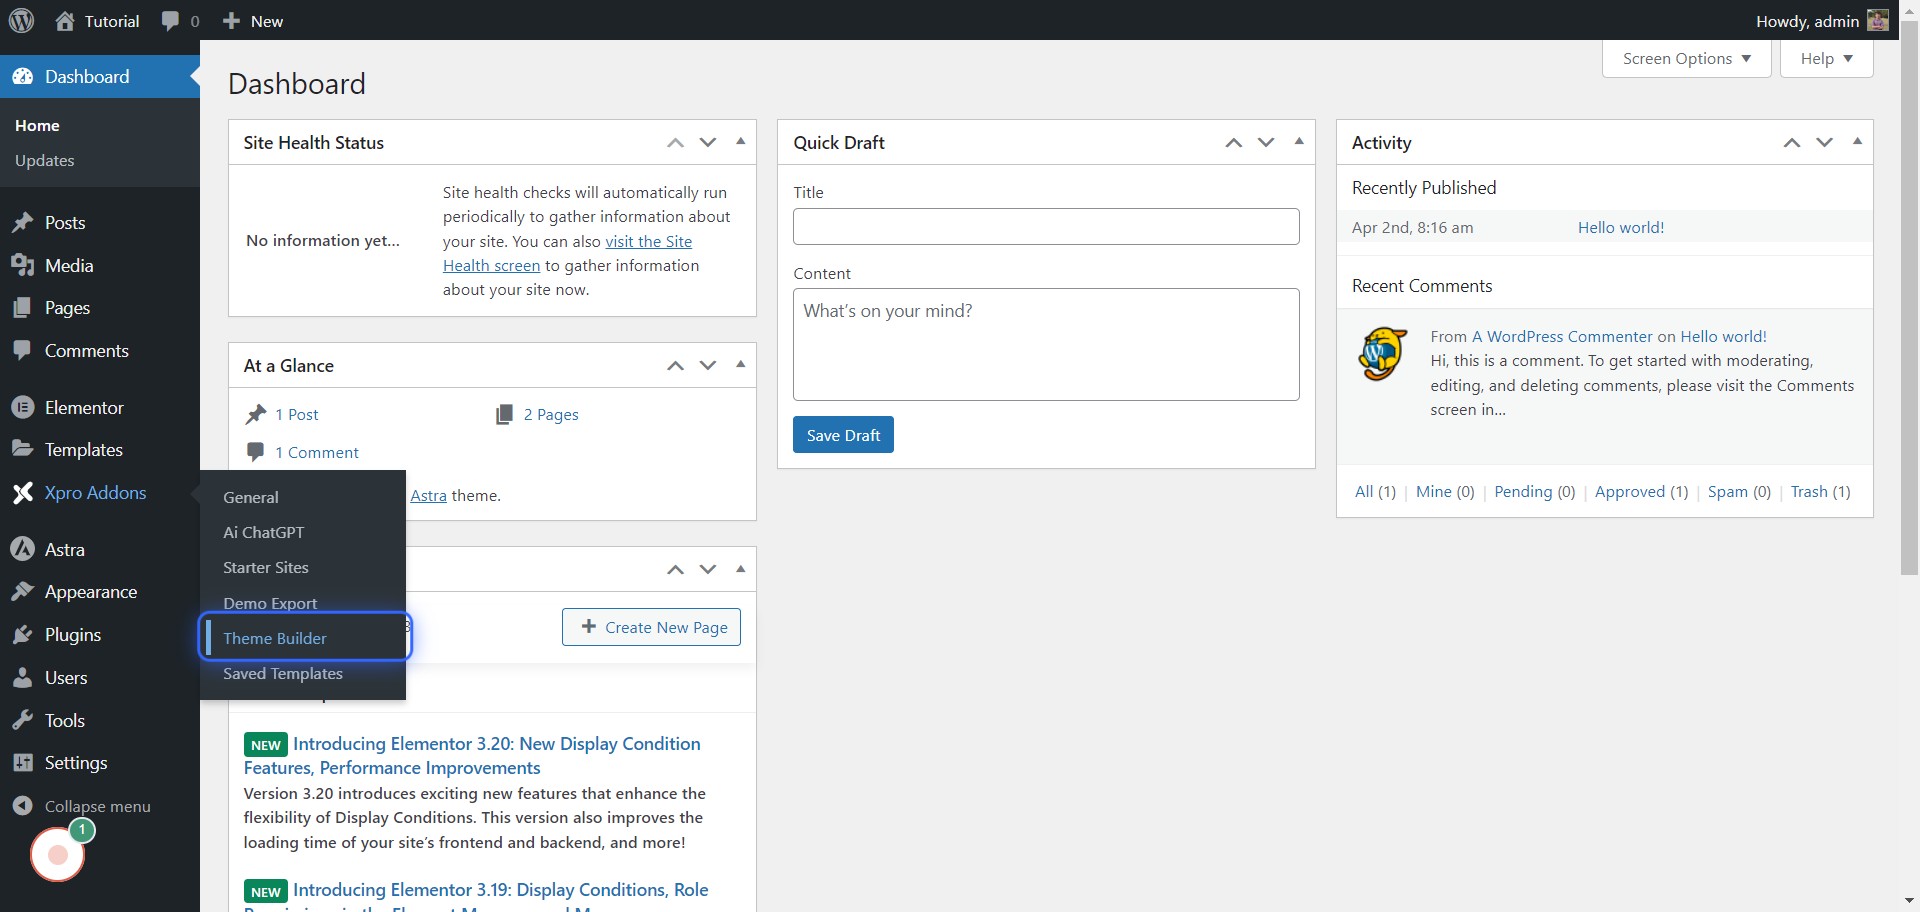
To create the template hover on “Xpro Addons” from the left then click on “Theme Builder“.
After that click on “Add New“

Now give it a name and from the “Type of Template” select Archive.

Then from “Display On” select Blog/Posts Page.

From User Roles select All and click on Publish.

#4 Design the template
To start designing, click on “Edit with Elementor“.
To show the posts as grids type Post grid on the search widget box and click on the widget to insert.

Now just play with it as you want. There are lots of option to cutsomize the grid. You can choose different layouts. Also you can control the post query, pagination etc.

After all the changes, hit Publish and visit the Blog page to see it live. This is pretty much it.
If you have any questions about the process, feel free to ask. If you have found this article helpful, share with friends.